This is a tutorial on how to draw a fantasy or medieval style tower in isometric projection. Isometric projection can be useful in tabletop roleplaying both as maps and as illustrations of important locations.
First – chose your gear
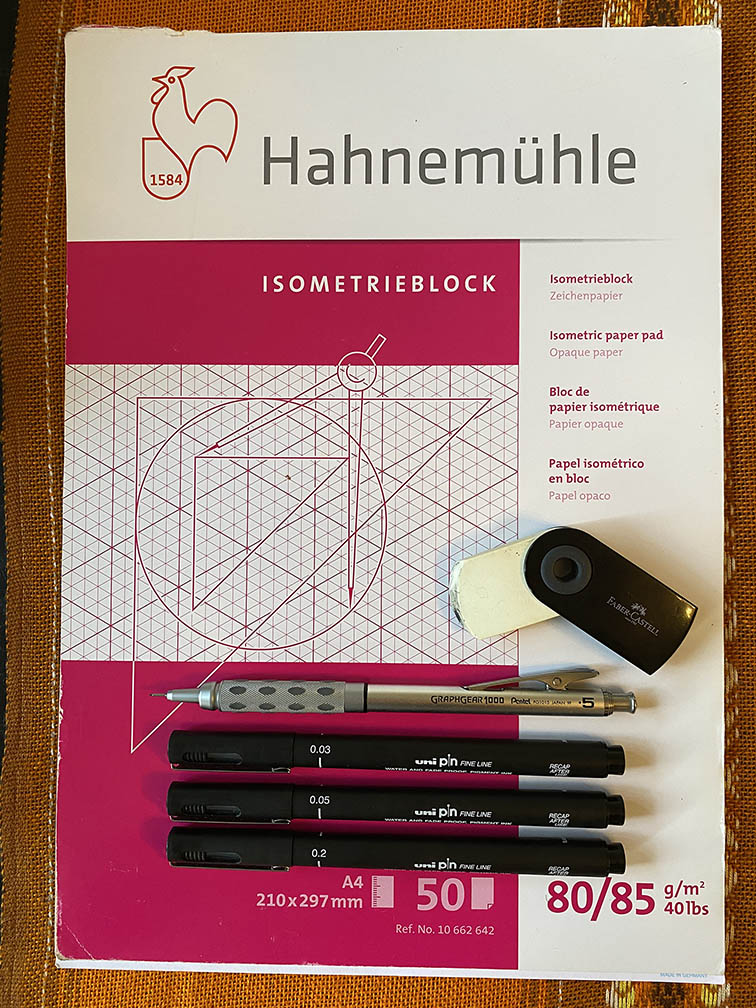
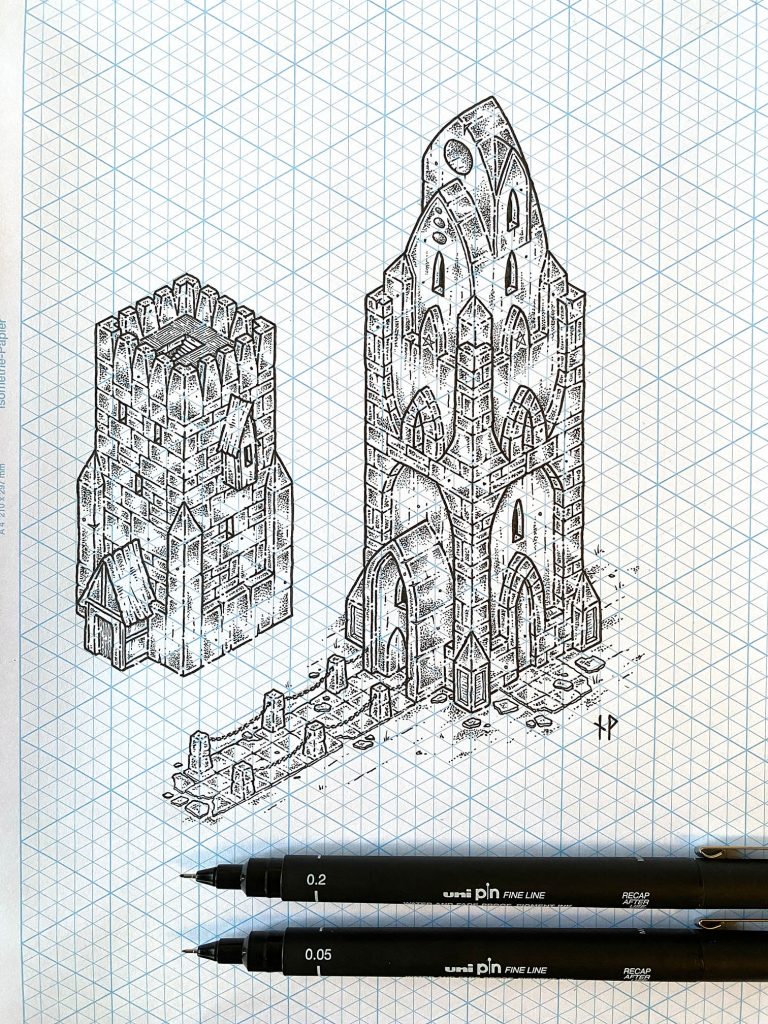
For this illustration I have used the following drawing equipment:
- Isometric graph paper from Hahnemühle.
- Ink finliners of varying weight. I currently use fineliners from UNI, but there are several good brands out there, like Pigma Micron, Staedtler and Copic. The weights I use for this tutorial are 0.2, 0.05 and 0.03.
- A pencil and an eraser.
Step 1 – designing your tower
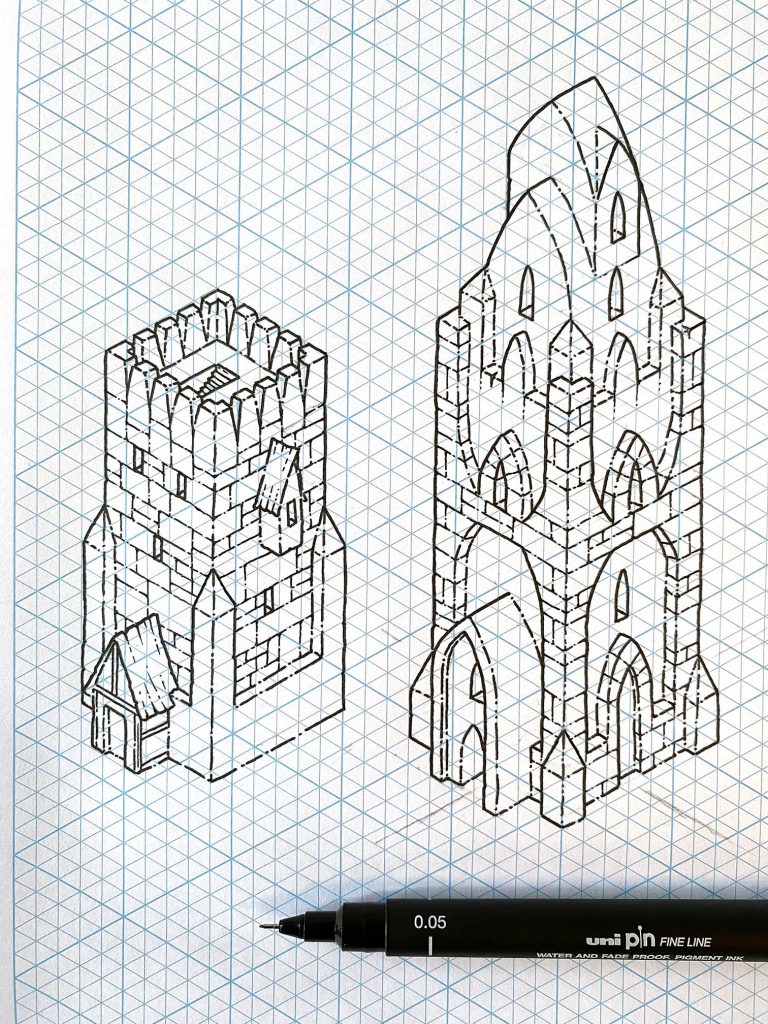
Start by drawing your tower in pencil, using the isometric grid as support. For the purpose of this tutorial I’ve created two towers – one basic and one a bit more advanced.
If you’re a beginner in isometric drawings I recommend you go for something similar to the left one. You can make it even simpler than this one by skipping some features!
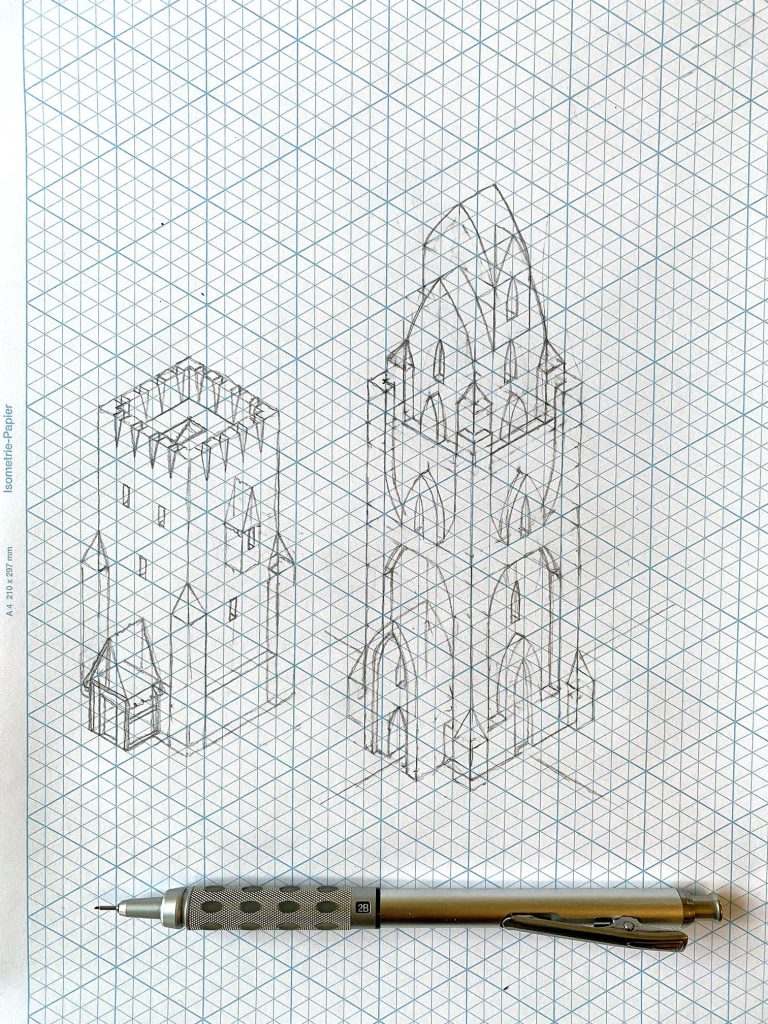
Take your time with this step and study the designs in this tutorial closely. Isometric perspective can be a bit tricky before you get the hang of it. You have an eraser – make use of it. I’m always displeased with my initial designs and do a lot of erasing and re-drawing before I decide to move on.
Don’t worry too much, though. Drawing takes practise and patience. You will make mistakes, but that’s part of the learning process.
Step 3 – ink outlines
When you’re happy with the design, use your 0.2 fineliner to draw the basic outlines of the design. When you’re done, let the ink dry and then carefully erase the pencil drawing.
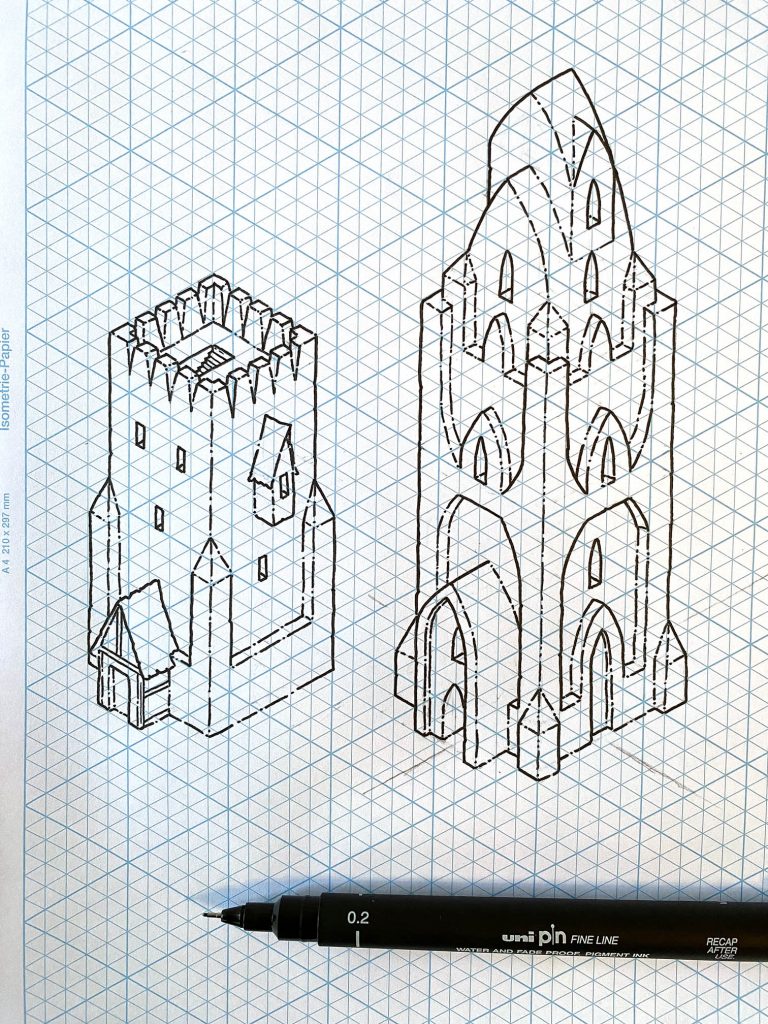
If you’re new at isometric drawing, take some time to study this image to get the feel for some basic shapes.
There’s a risk your ink outlines can take a bit of a beating when you erase the pencil sketch. That’s ok, you can go over them again before moving on to the next step.
Step 4 – add detail
With the outlines done it’s time to add some detail. In this case I’ve decided to draw the stonework of the tower using a 0.05 fineliner.
It can be a good idea to draw these details in pencil before using ink, especially if you’re new to drawing in this style. Just do it the same way as in the previous step.
Step 5 – stipling and textures
With the outlines and details done, it’s time to start stipling. This is the most time consuming step of the drawing, but it makes a huge difference and in my opinion it’s really worth it!
There are different ways of rendering texture in ink. My preferred style is “stipling” i.e. doing lot’s of small dots.
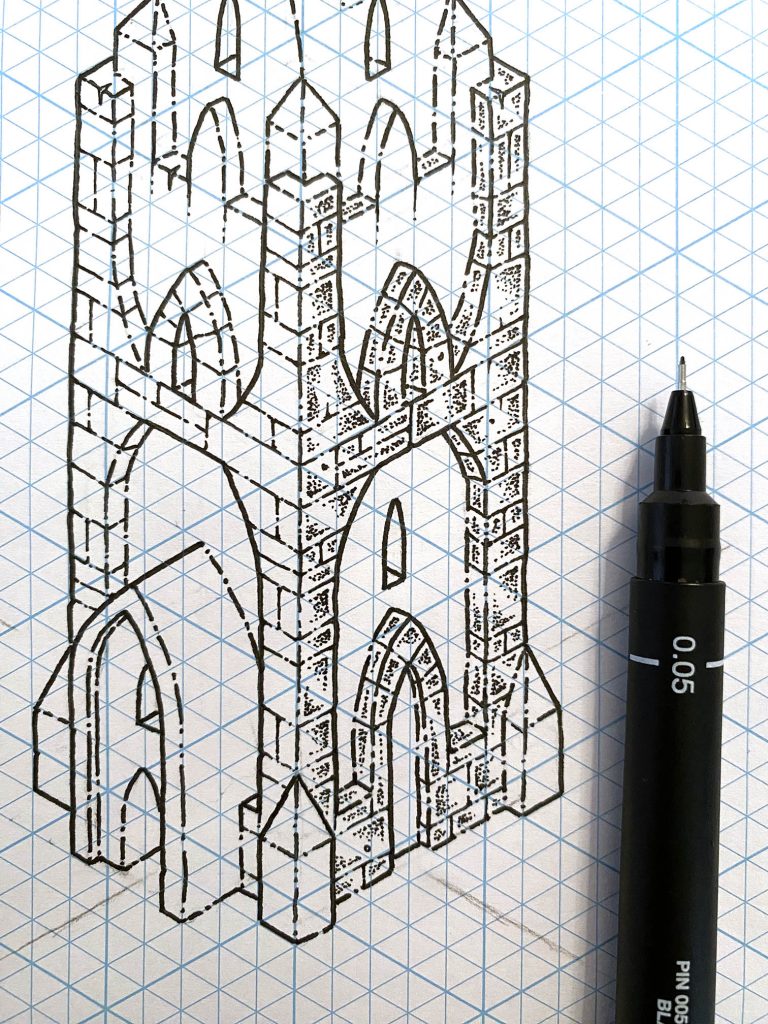
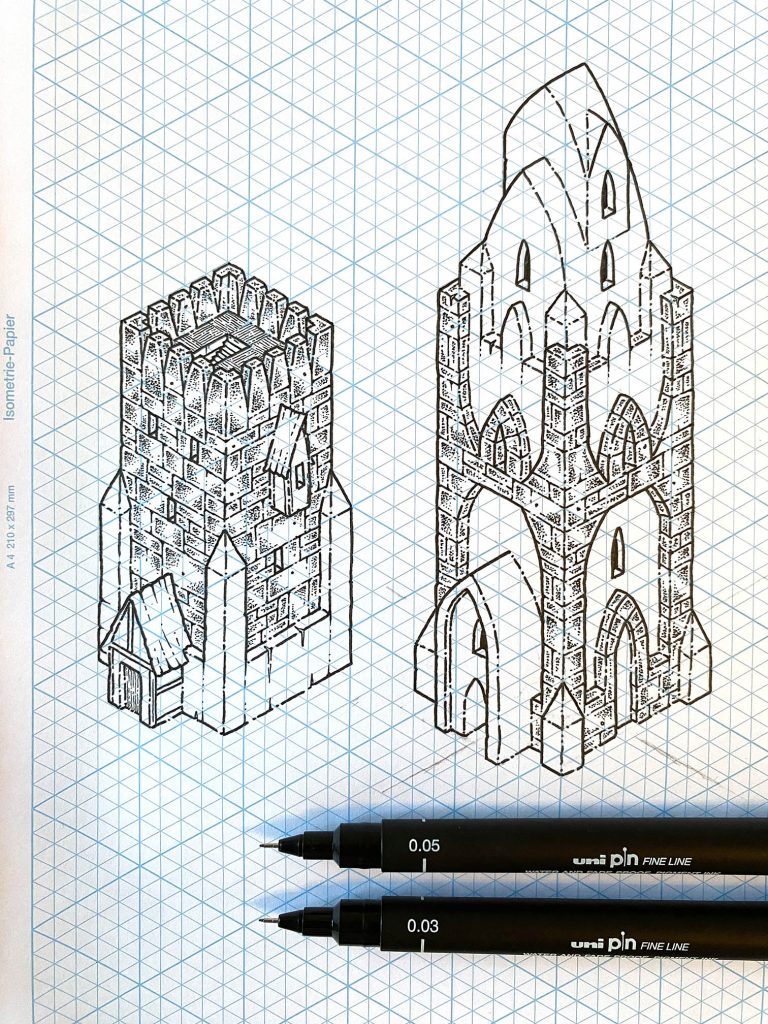
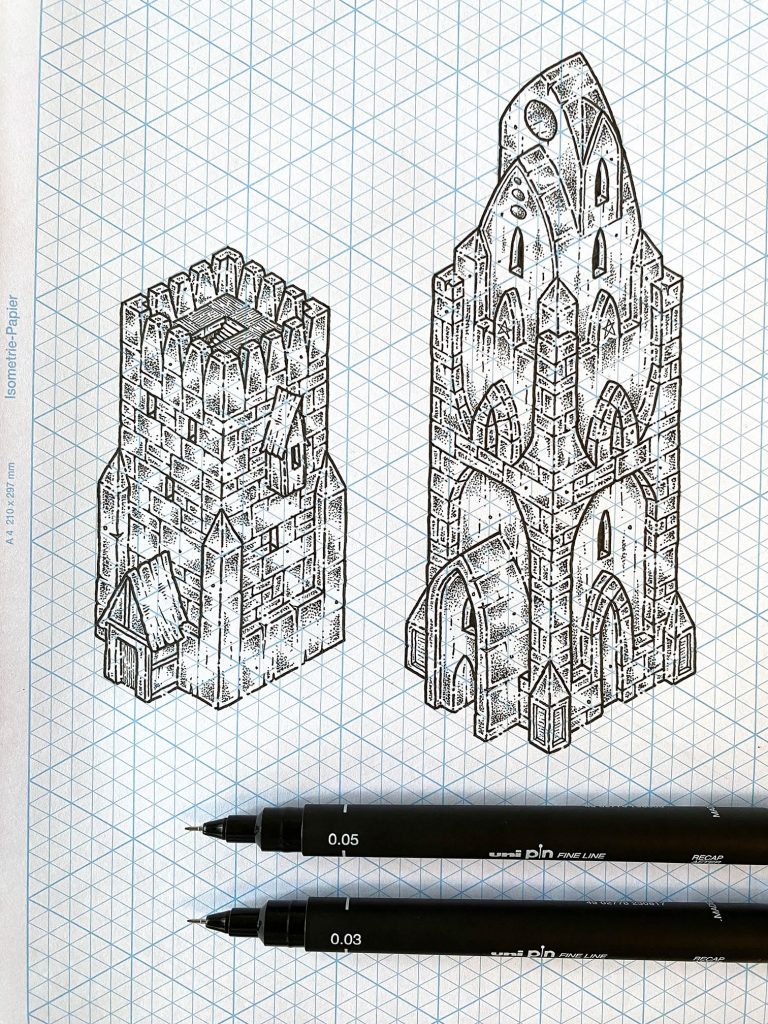
During this step you can add more decorations to your tower. Note, for example, the stars I added to the right tower.
Step 6 – surroundings
To make the drawing “come to life” I recommend adding a bit of debris on the ground surrounding the structure. It doesn’t take much to go from a drawing that feels a bit “unfinished” to putting it in a context. In this case I also chose to add some pillars, chains and flagstones to the right tower.
Spending 20-30 minutes on this step goes a long way.
Step 7 – Cleaning up and adding shadows
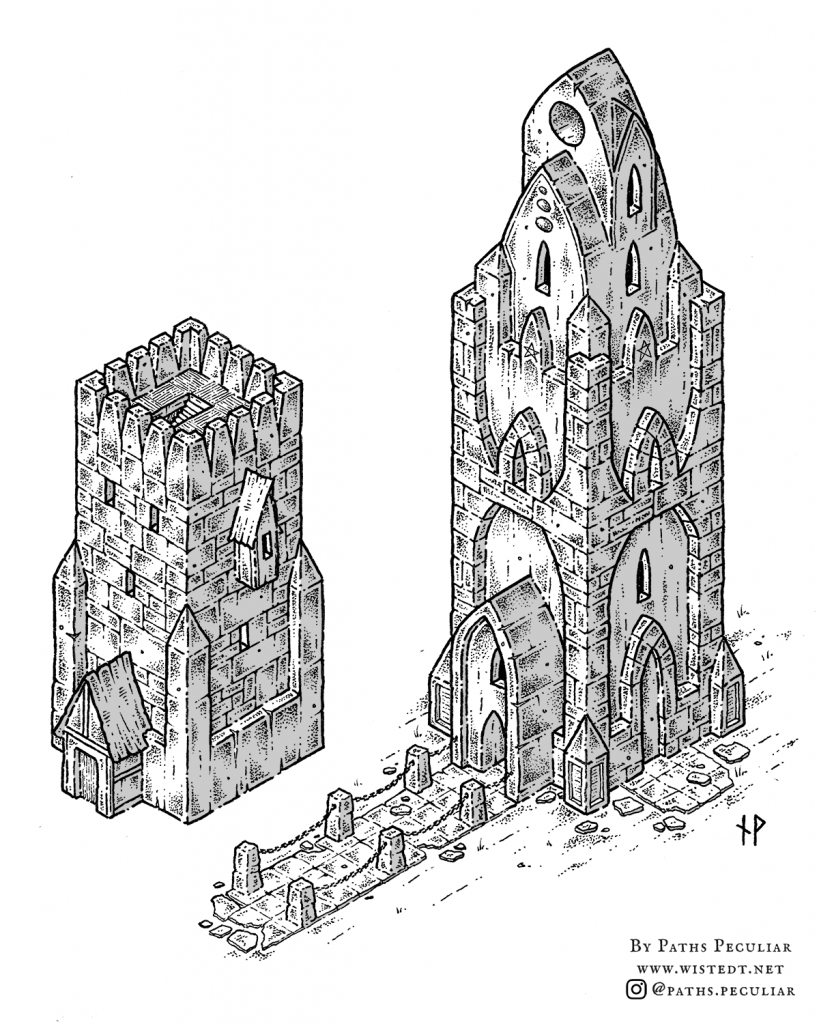
At this point I scan the drawing and add the finishing touches. You can draw shadows with a marker, but I find it harder to remove the grid lines if I do so I recommend doing it digitally.
When the drawing is scanned, I use this method (link to Deviant Art) to remove the grid with Photoshop.
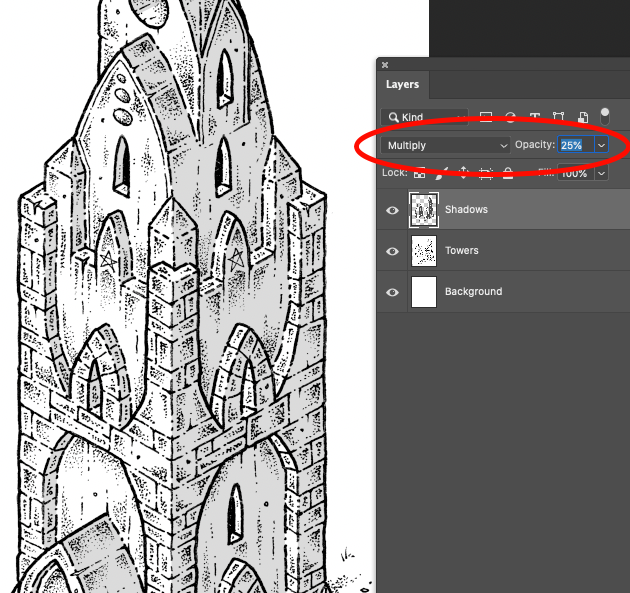
I add shadows in Photoshop by creating a new layer and setting the layer type to “multiply” and the opacity to 25%. I use the polygonal lasso tool to draw the shape of the shadows and fill it with grey. You can of course play around a bit with the layer opacity setting to get the shade you want.
We’re done!
And that’s it! Remember that drawing, like any skill, takes a lot of practise. Don’t get disheartened if your first, fifth or tenth drawing doesn’t turn out exactly how you imagined it would.
In any case, I hope you found this tutorial helpful!
Would you like to support my work?
I don’t make a living from my art, but a small tip through my Ko-fi account is always appreciated!
I made a book!
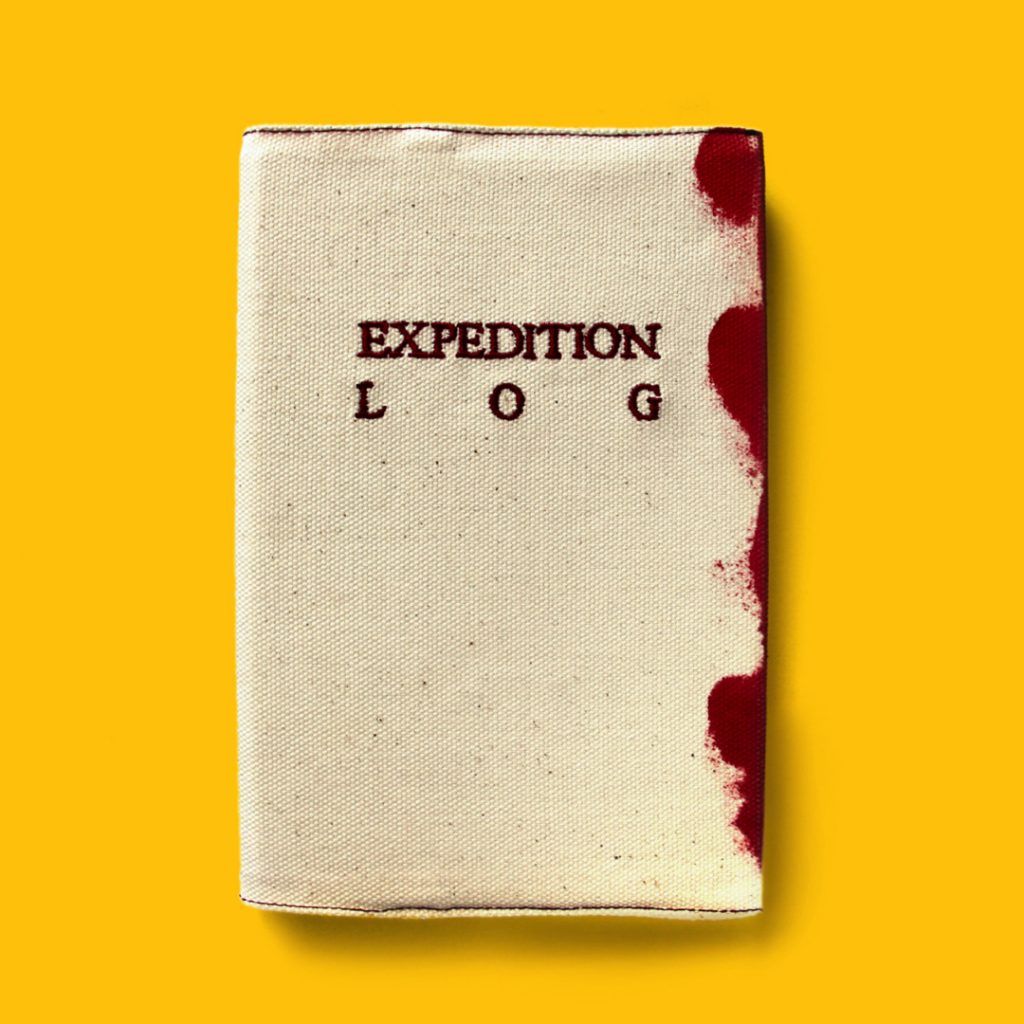
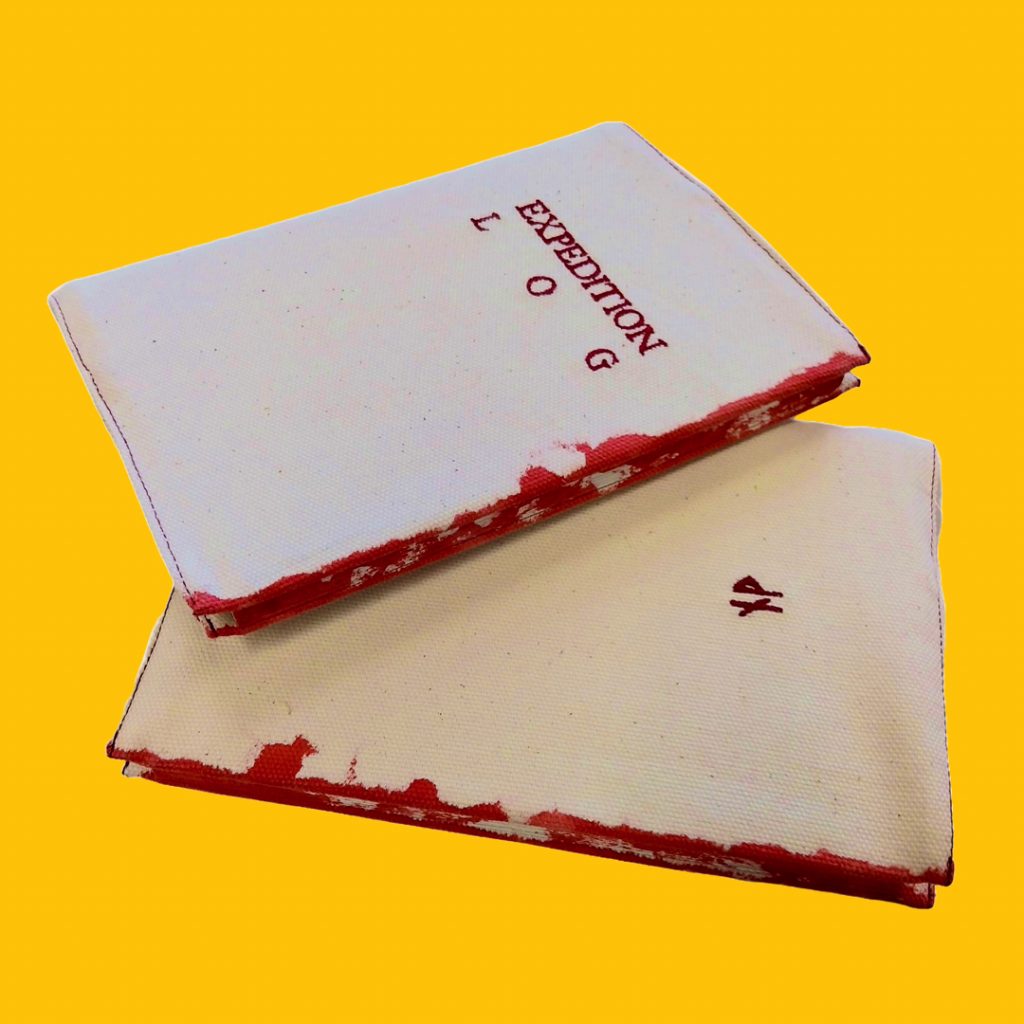
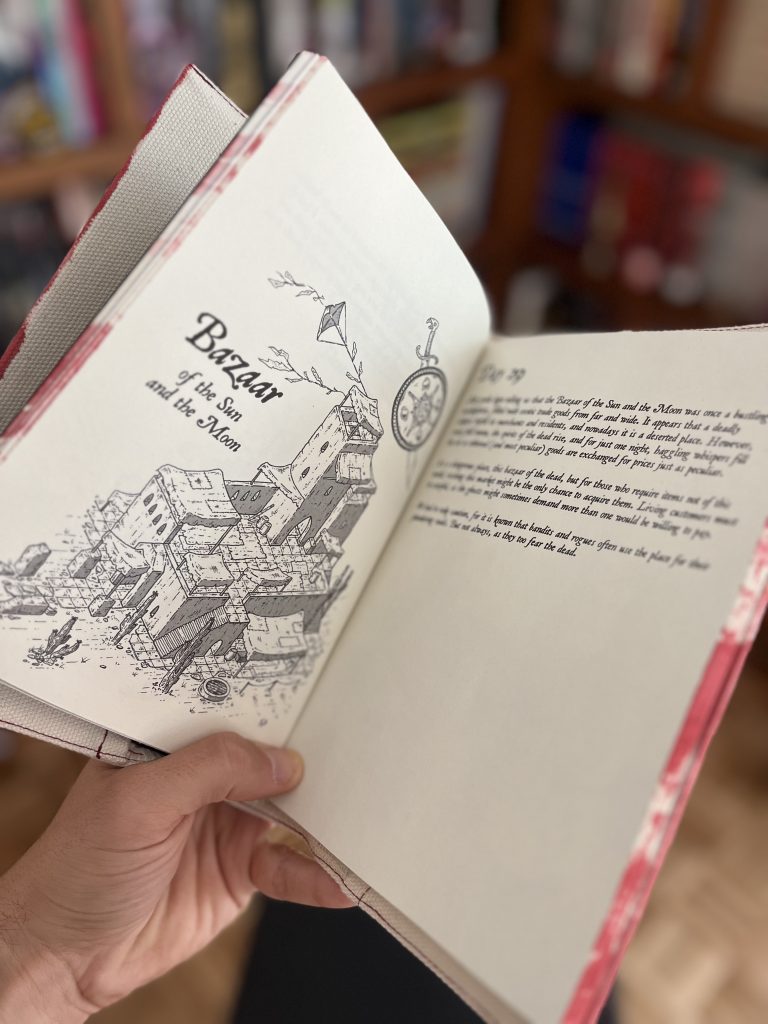
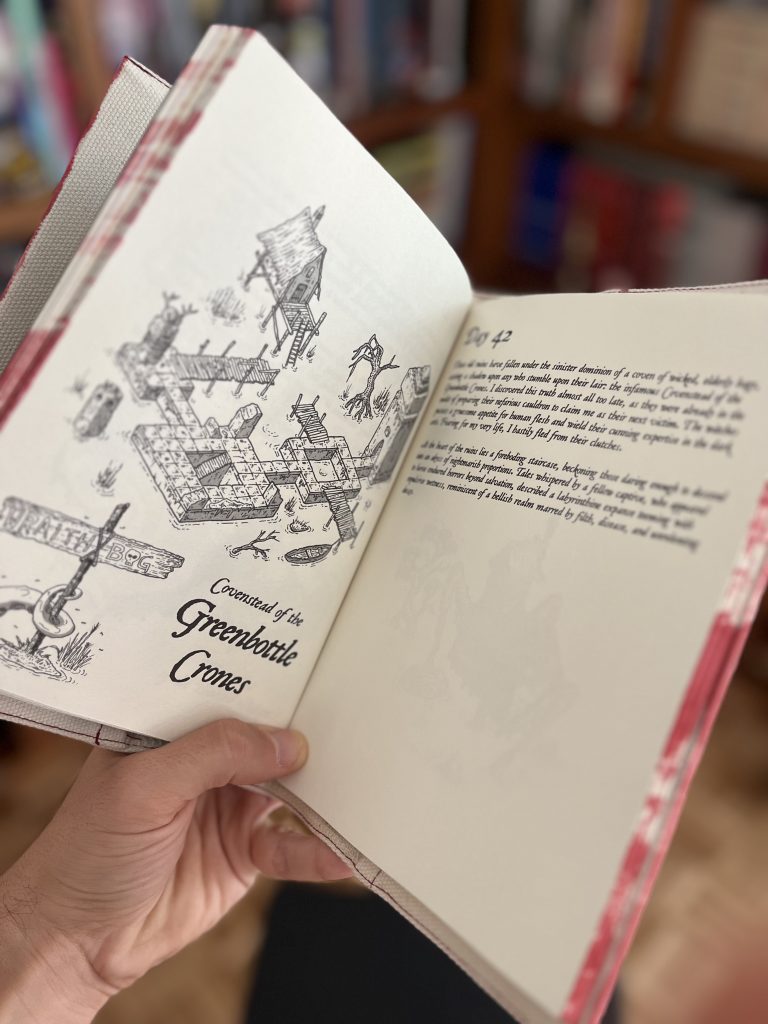
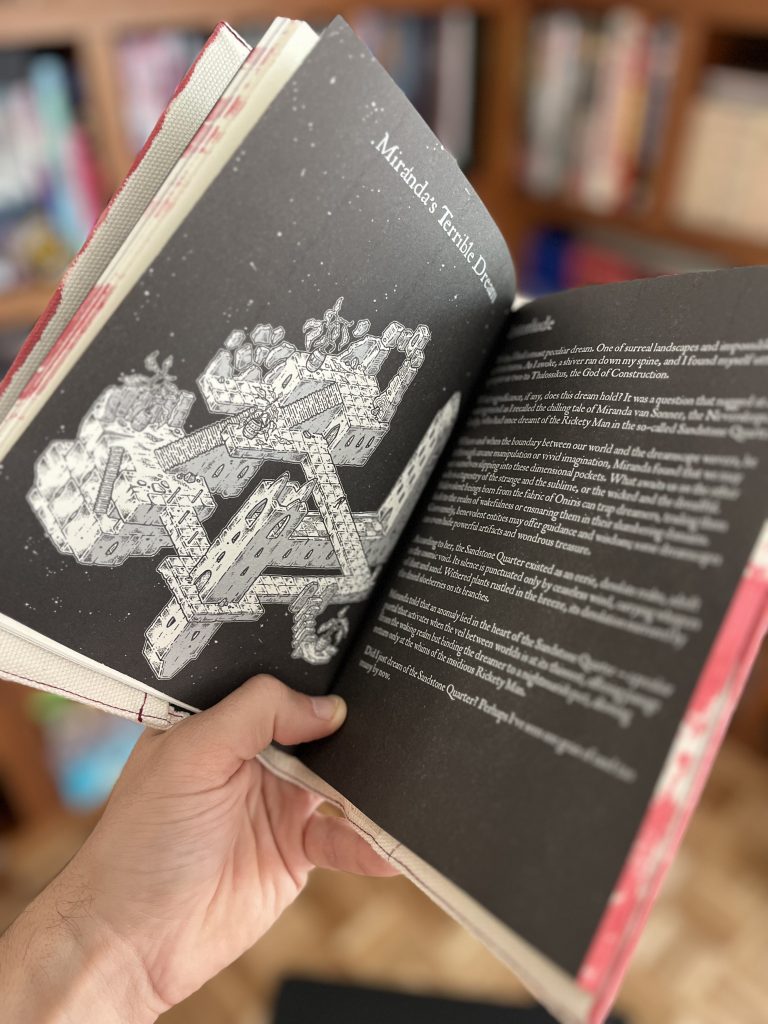
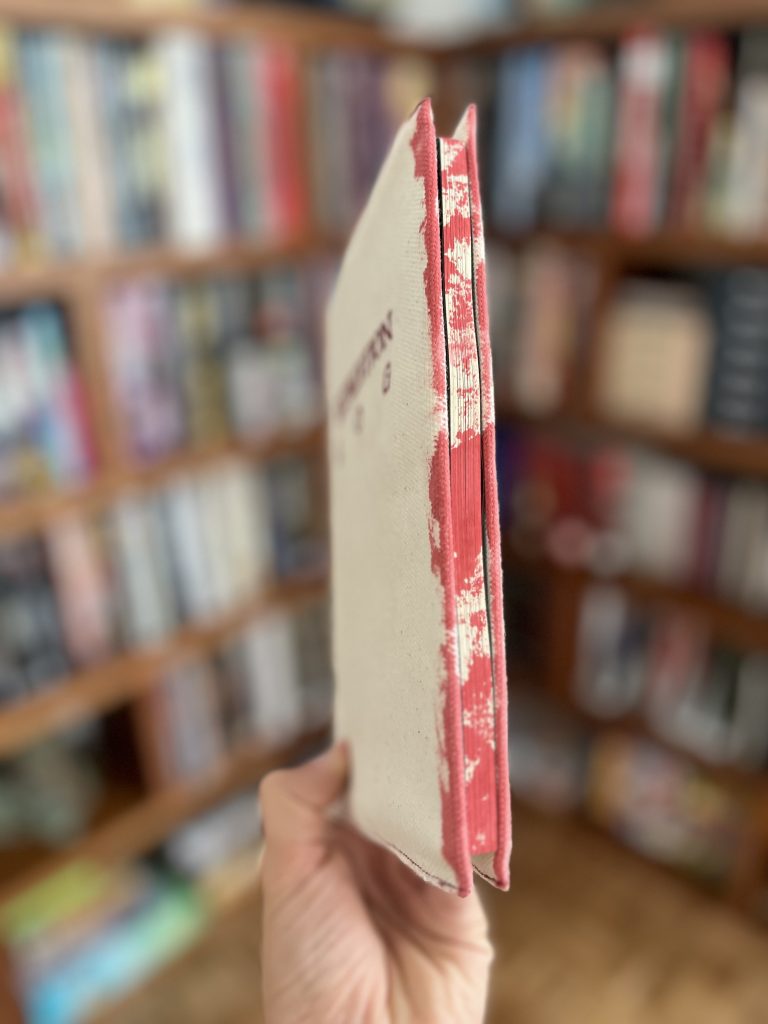
Expedition Log is a fictional travel journal based on the works of an adventuring cartographer and explorer. It recounts the fortunes and misfortunes of a mysterious voyage in search of the legendary lost library. The book is designed to function as an in-game artefact: a dusty old tome that the characters themselves might unearth hidden in an obscure library or remote dungeon. It can also be used as a GM tool to spark the imagination with tons of intriguing locations and adventure hooks. Or it can simply be read as a novel.
American customers can get Expedition Log at Exalted Funeral.
European customers can get Expedition Log at Games Omnivorous.
